Jun 21
Home Theater Part Duex
icon1 Michael Requeny | icon2 Uncatagorized | icon4 06 21st, 2009| icon3No Comments »

More progress–Paint and Wall Sconces all done.

Some more decisions made, Harmony 880 will control the entire system.  Xantech Connecting block & Emitters for IR distribution, Samsung 52″ LCD selected.  Receiver + Speakers will be my dad’s existing gear.

To control the motorized screen and wall sconces INSTEON was selected.  I was going to get the low voltage board for the motorized screen so I could control it via IR, RS-232, etc. but those options all would have cost me over $300.  My electrician buddy Kenneth “Teh Fuckin’ Man” Deli figured out a way to use INSTEON Controls, and a Relay to control the screen.  He also advised me on an IR to INSTEON adapter so my Harmony remote could control everything properly.  Did I mention I <3 DIN Rail???

Screen Testing!  Also set the limit switches were I think they should be…
Installed half the power bridge and cut in the LV mudring.

Setup my ghetto cable pulling rig–Since only one of the cable is on a spool this isn’t straight forward, but most of the cable is very stiff so it spins easily.  Still needed someone tending to this while the pull was going on but it made it a breeze running all the cables at one time.  I didn’t have any poly to use as a leader, so I used a bit of phone wire and staggered all the cable’s connectors so the pull wouldn’t just be a big ass ball of connectors.  Everything is neatly tied up and all connectors are protected as described in the previous post.

Jul 25

So with a tip from a fellow on the internets, I was able to finish that last step in programming it, setting the link between a card reader and an output.  It was all working so I ran to install it, took a little under an hour and it works! w00t!!!111oneoneeleven

Pics:

N-1000-II Mounted

N-1000-II Mounted

Read the rest of this entry »

Jul 20

So I tinkered around today with it some more, and realized my mistake when I previously tried to program the panel.  Every command has to be prefixed with a space.  The other show stopper is the POS USB<->Serial Dongle I am using, it craps out after a few minutes and I have to change the com port, disable/reenable the device, or unplug/replug it in…

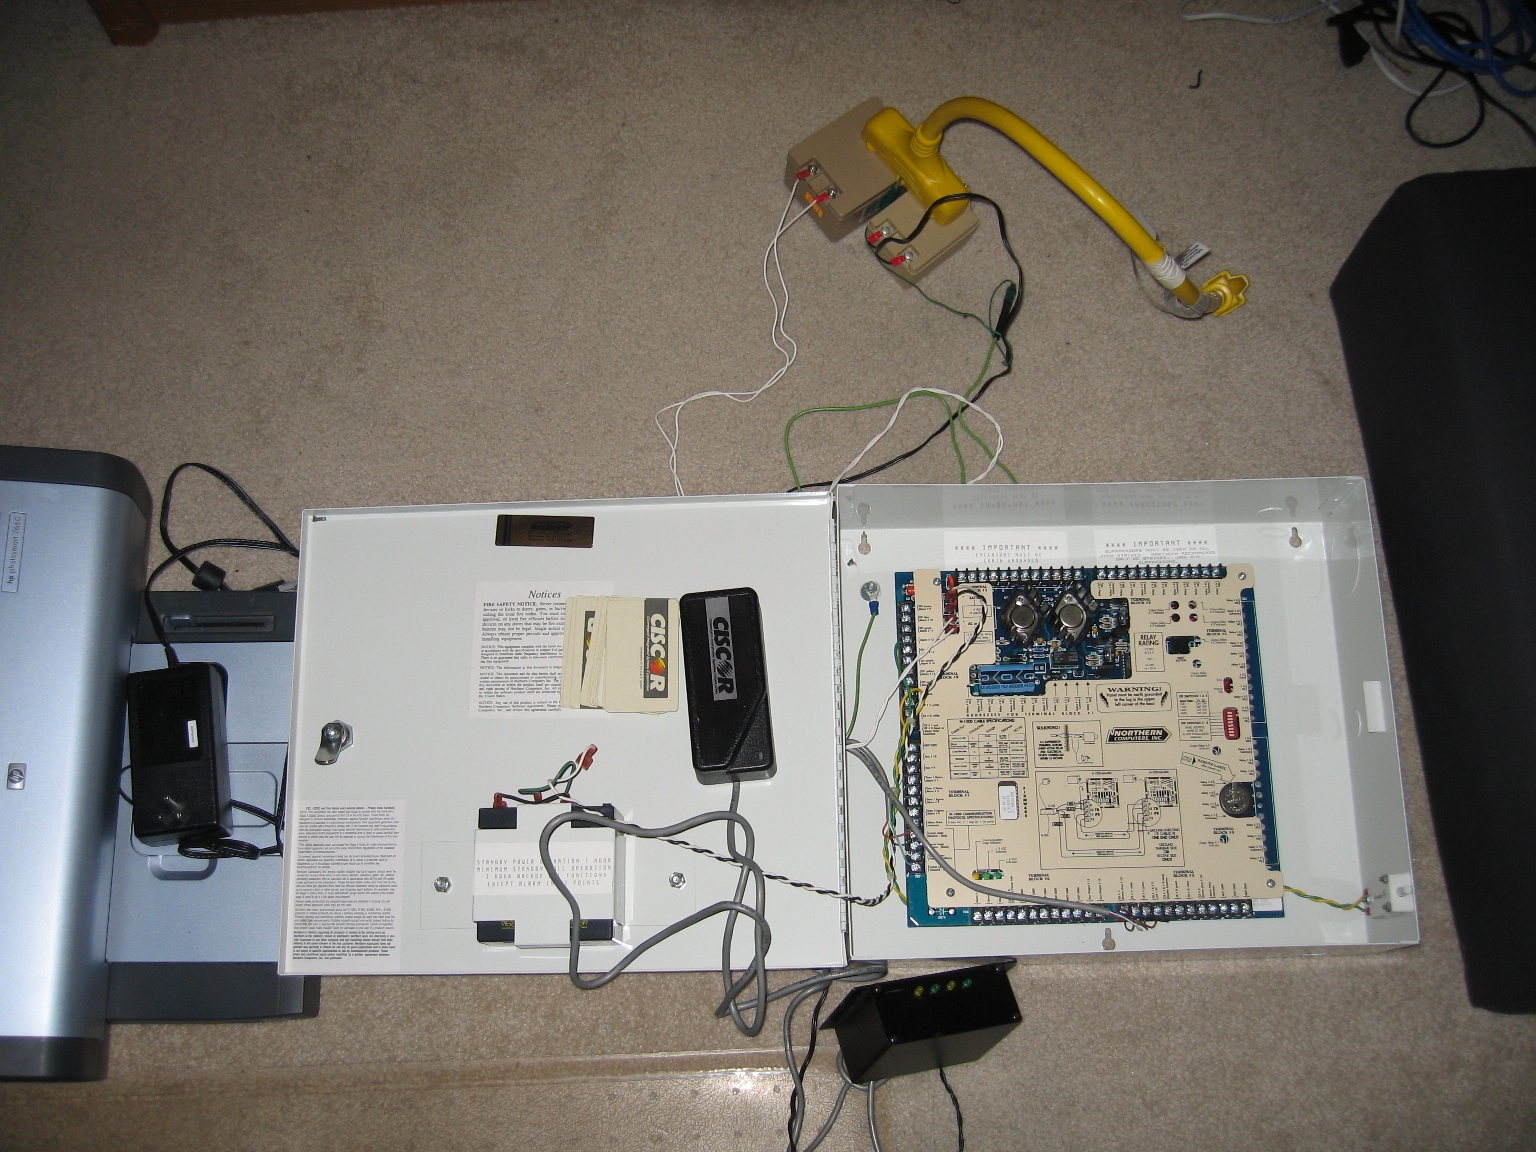
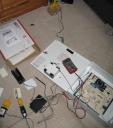
I made good progress today, Assigned the Reader to an Output, Added the Card to the Reader, and named the Panel, Reader and Output.  I cannot get the panel to energize the output when I have a successful read, however the LED status on the reader works now and I can see the actions in the terminal processing.  I know it has to do with the V command, but everything I’ve done thus far is invalid syntax, stupid Honeywell needs to improve on this documentation from 1995.  Perhaps I’ll try to get a firmware upgrade for this thing, apparently you have to send the EPROMM in to get it, PITA.   Heres a pic from my tinkering…

Access Control Progress

Also bidding on a Blackbox wireless serial server so once this is installed I can make whatever changes over the network…mmm disable someones proxcard (key) to the house via VPN–oh the joys…

Anyone else who wants to do something like this, the Northern Computers panels may be a cheaper solution since they are in surplus out of old buildings, however something like an ELK-M1 may prove to be more user friendly and alot less fustrating…

Jun 10

So I picked up this Northern Computers N-1000-II Access control panel from fleabay for a few bucks.  I’m working to make my garage door have card access, and then maybe the front door of the house.  Still haven’t figured out howto program it, the serial port spews out timestamps of events (alarm conditions, card reads, etc) you can program one of the 2 card reader inputs to energize a relay output when an “authorized” card is read..

N-1000-II

Jan 11
BestBuy Fun
icon1 Michael Requeny | icon2 Uncatagorized | icon4 01 11th, 2008| icon3No Comments »

Step 1: Load your SD card with lots ‘o pictures

Step 2: Proceed to your nearest BestBuy

Step 3: Find a photo printer that has paper (or load it yourself) and insert your SD card

Step 4: Print, Print, Print.

me-printer

sean-printer

Step 5: Put some of your newly printed pictures into their display to help show off the quality of the printers

printer-deco